
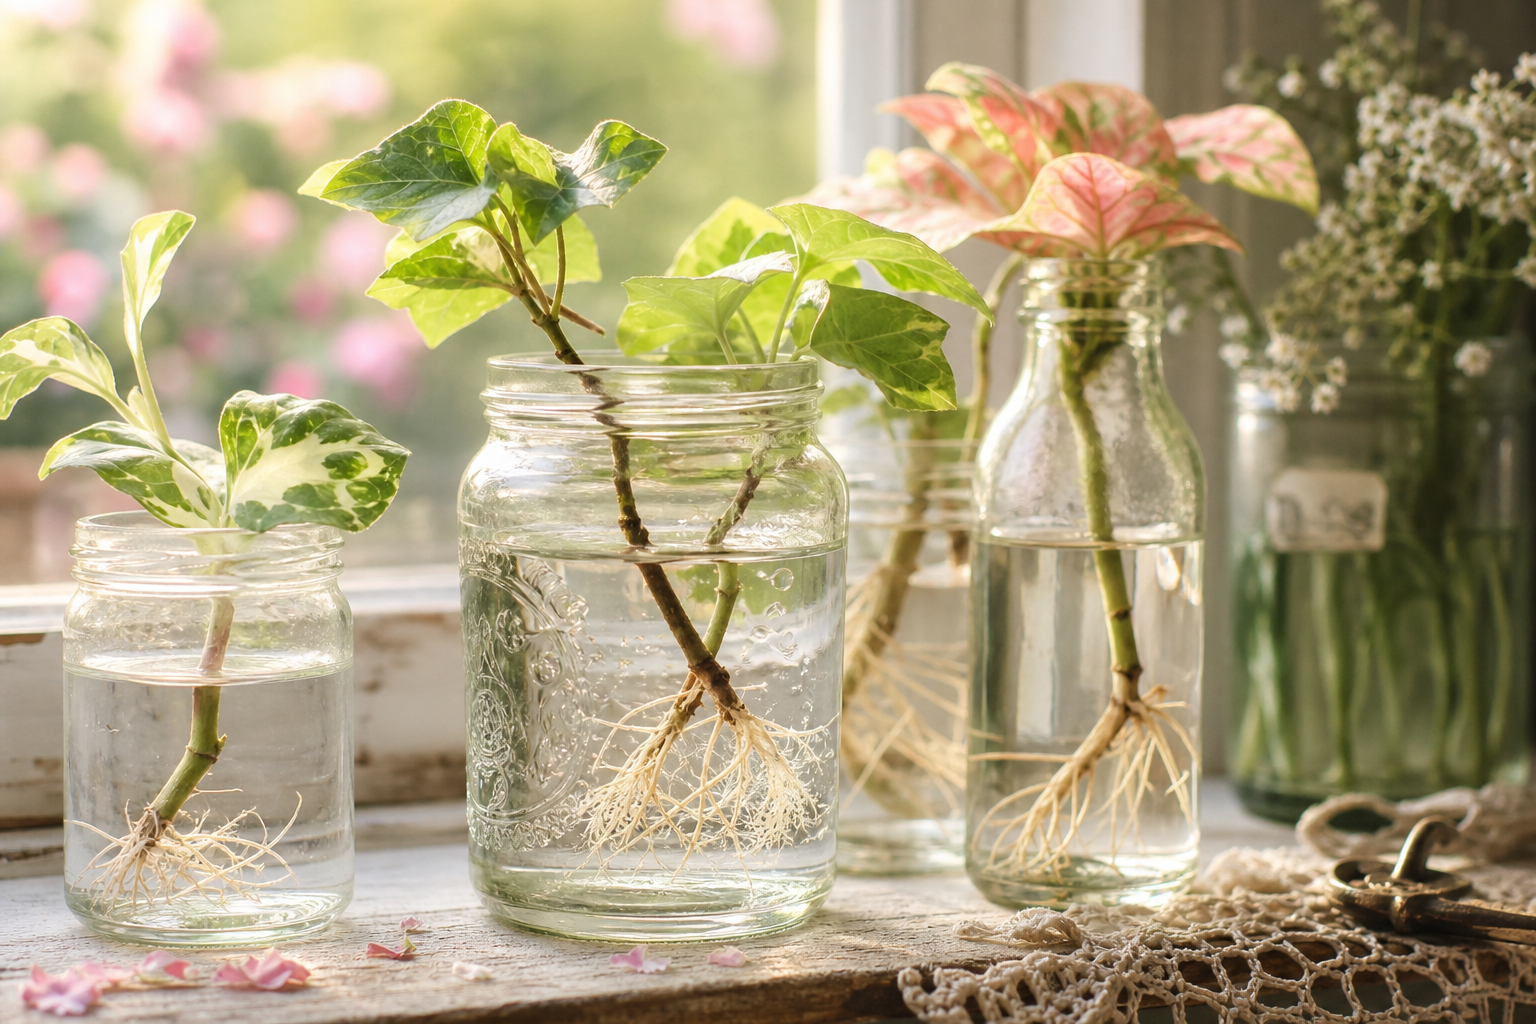
How to Propagate Houseplants
Last updated: Sep 10, 2026
Propagation is the process of creating new plants from existing ones. It's a rewarding skill that lets you expand your collection for free and share plants with friends. This guide covers three reliable methods — stem cuttings, division, and leaf cuttings — with step-by-step instructions for each.
Choose a Method
Stem Cuttings
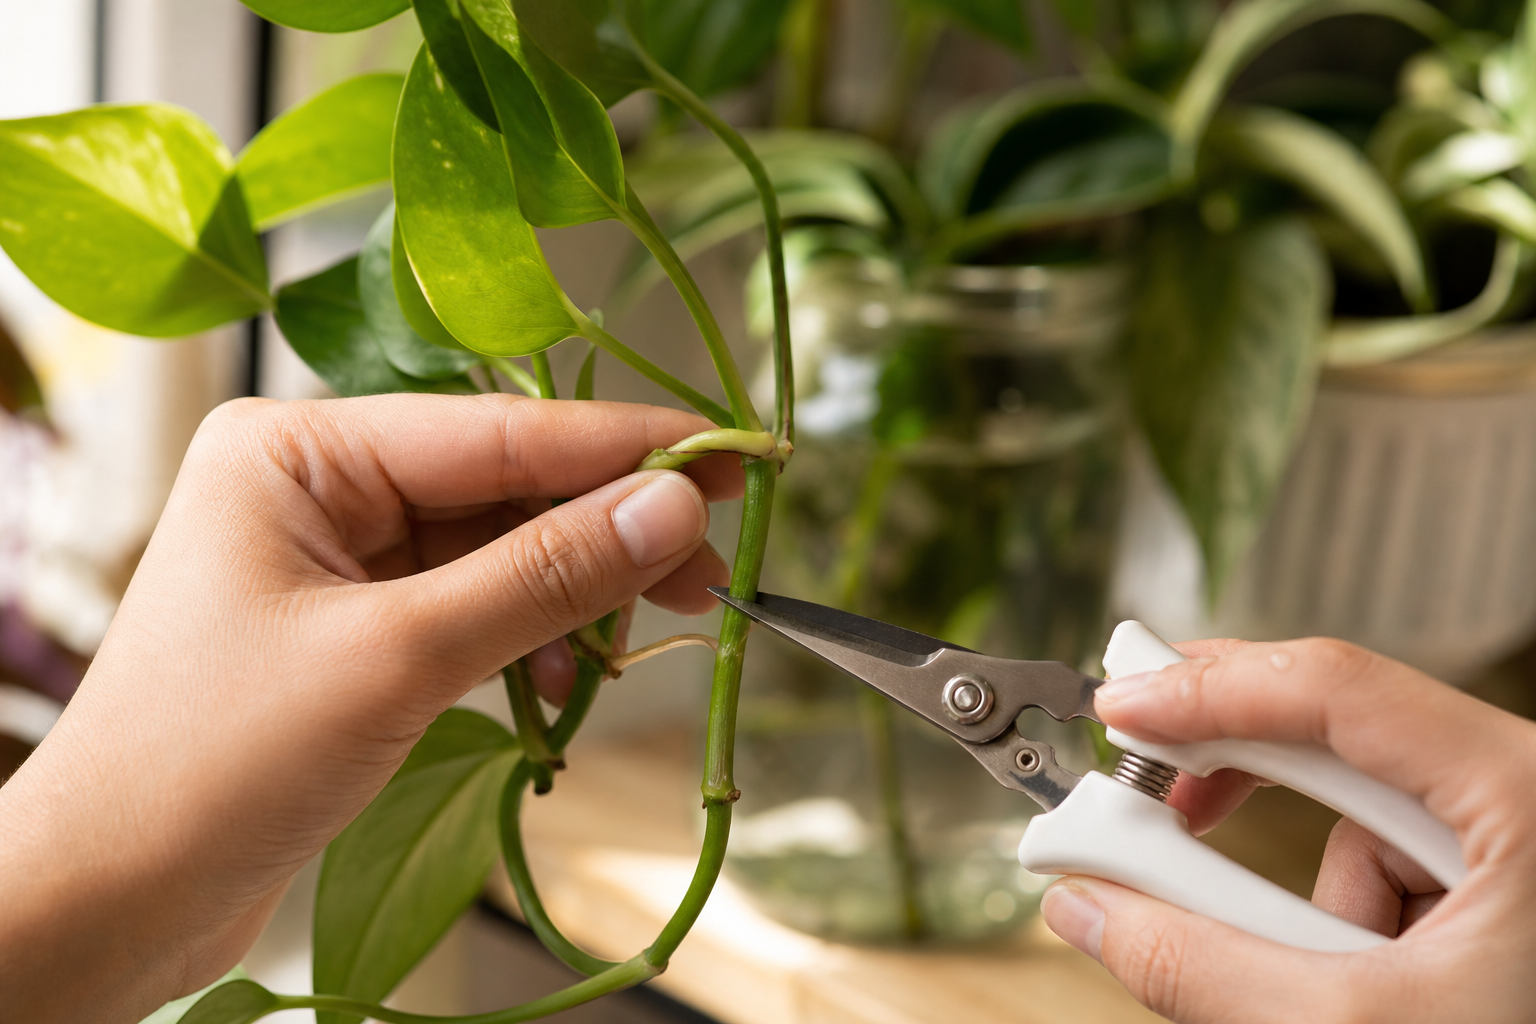
The most popular method for many houseplants. Cut a stem just below a node, remove lower leaves, and place in water or moist soil until roots develop. Works well for most tropical vining and upright plants.
Best For
Step-by-Step Instructions
- 1
Find a healthy stem with at least one node (the small bump where leaves or aerial roots emerge) and 2–3 leaves. The node is essential — roots will grow from this point.
- 2
Using clean, sterilized scissors or pruning shears, cut the stem about half an inch below the node at a 45-degree angle. A clean cut reduces the risk of infection and increases the surface area for water uptake.
- 3
Remove the lowest 1–2 leaves from the cutting. Any leaves that would sit below the water line or soil surface will rot and introduce bacteria.
- 4
Optional: Dip the cut end in rooting hormone powder. This is especially helpful for harder-to-root species like rubber plants and fiddle leaf figs. Easy rooters like pothos do not need it.
- 5
Place the cutting in a clean glass jar of room-temperature water, ensuring the node is submerged but no leaves are in the water. Alternatively, plant directly in moist potting mix.
- 6
Position the jar or pot in bright indirect light — not direct sun, which can overheat the water or soil. Maintain temperatures between 70–80°F (21–27°C) for fastest rooting.
- 7
Change the water every 5–7 days to prevent bacterial growth. If using soil, keep it consistently moist but not soggy.
- 8
Wait for roots to develop. Most tropical cuttings show roots in 2–3 weeks in water, or 4–6 weeks in soil. Roots are ready to transplant when they reach 2–3 inches in length.
- 9
Plant the rooted cutting in an appropriate potting mix. Water thoroughly and keep in a sheltered spot with bright indirect light for a few days to recover from the transition.
Our Experience: We've found that water propagation is the most satisfying method for beginners — you can actually watch the roots grow day by day. For pothos and philodendron, roots appear in as little as 7–10 days in warm conditions. Our trick: place the propagation jar on top of a refrigerator or near a warm appliance for gentle bottom heat, which speeds up rooting significantly.
— Grown in a warm kitchen, spring and summer, USDA Zone 7a
Division
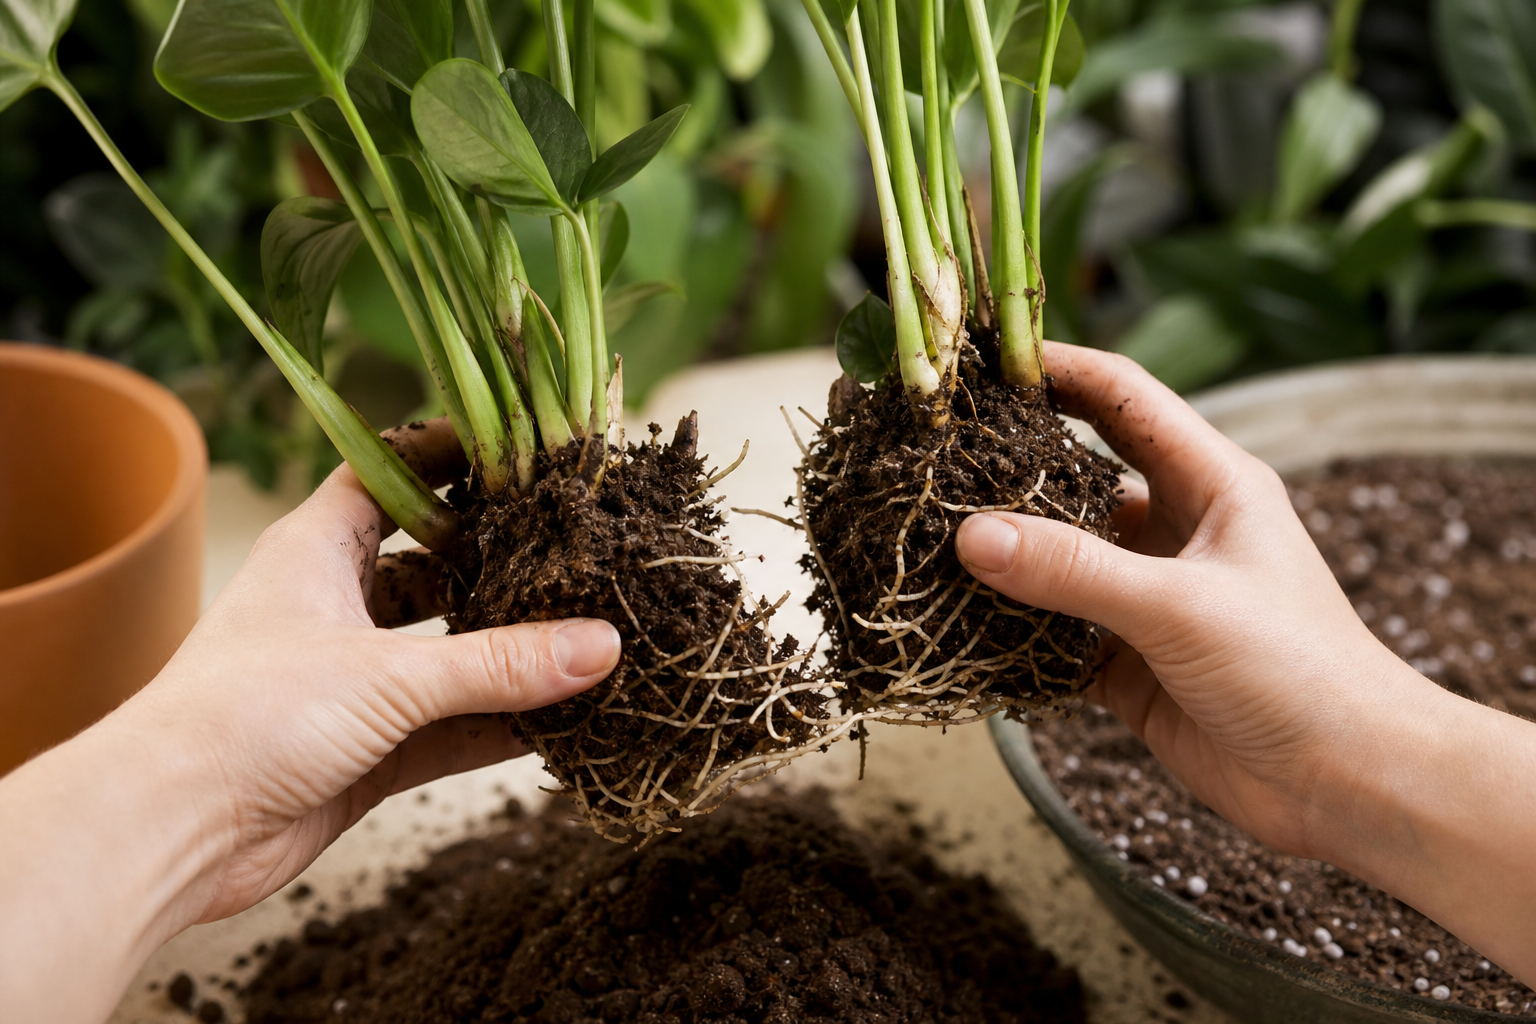
Best for plants that grow in clumps or produce offsets. Gently separate the root ball into smaller sections, each with its own roots and stems, and pot them individually. This is the fastest propagation method because each division already has an established root system.
Best For
Step-by-Step Instructions
- 1
Water the plant thoroughly 1–2 days before dividing. Well-hydrated roots are more flexible and less likely to break during separation.
- 2
Remove the plant from its pot. Gently squeeze the sides of plastic pots or run a knife around the edge of ceramic pots to loosen the root ball.
- 3
Examine the root ball and identify natural divisions — areas where the plant has distinct clumps or sections, each with its own set of stems and roots.
- 4
Using your hands, gently tease the sections apart. For tightly bound roots, you may need to use a clean knife or garden saw to cut through the root ball. Each section should have at least 2–3 healthy stems and a good root system.
- 5
Trim away any damaged, rotting, or circling roots with sterilized scissors. This is also a good time to remove any dead or yellowing leaves.
- 6
Pot each division in its own container with fresh potting mix. Choose a pot that is only slightly larger than the root ball — too much extra soil leads to overwatering.
- 7
Water each division thoroughly and place in a sheltered spot with bright indirect light. Avoid direct sun for the first 1–2 weeks while the roots re-establish.
Our Experience: Dividing a snake plant that had outgrown its pot gave us three healthy new plants in under an hour. The key is to be gentle but firm — snake plant roots are surprisingly tough, and a clean knife cut through the rhizome is better than tearing. Each division recovered within two weeks and started pushing out new growth within a month.
— Divided a 3-year-old snake plant in spring, indoor conditions
Leaf Cuttings
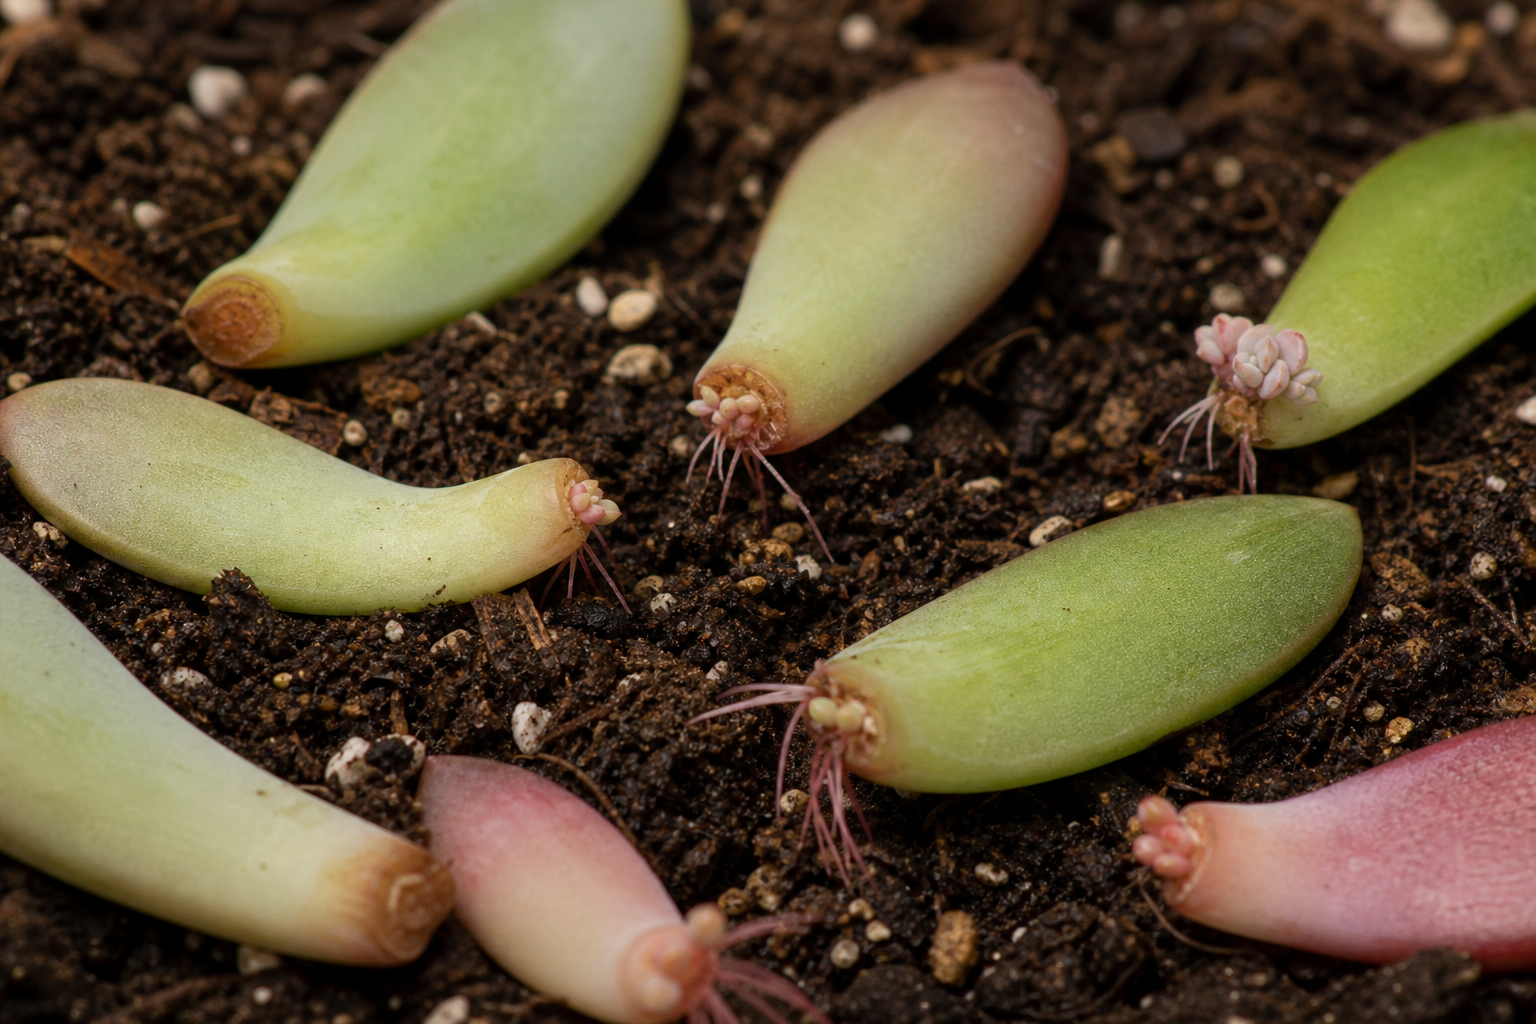
Some plants can be propagated from individual leaves. This method works well for succulents and plants with fleshy leaves. It is slower than stem cuttings but effective for species that do not produce long stems.
Best For
Step-by-Step Instructions
- 1
Select a healthy, mature leaf. For succulents like aloe vera and jade plants, gently twist the leaf off at the base rather than cutting — a clean break at the stem heals better. For snake plants and ZZ plants, cut a leaf into 2–3 inch sections, noting which end was closest to the soil.
- 2
Let the cut end callus over for 1–3 days in a dry, shaded spot. This step is critical — planting a fresh-cut leaf directly into soil leads to rot. The callus forms a protective seal over the wound.
- 3
Once callused, place the leaf on top of moist, well-draining cactus/succulent mix. For snake plant and ZZ plant leaf sections, insert the lower end (the end that was closest to the base) about half an inch into the soil. Direction matters — planting upside down will not work.
- 4
Keep the soil lightly moist but never wet. Mist every few days rather than watering heavily. Too much moisture is the number one cause of failure with leaf cuttings.
- 5
Place in bright indirect light and maintain warm temperatures (70–80°F / 21–27°C). A clear plastic dome or bag can help maintain humidity.
- 6
Be patient. Leaf cuttings are the slowest propagation method. Roots and new plantlets may take 4–8 weeks to appear. Snake plant leaf cuttings can take 2–3 months. Once new growth emerges, gradually acclimate to normal care.
Our Experience: Our first attempt at leaf propagation failed because we skipped the callusing step and planted fresh-cut succulent leaves directly into damp soil — every single one rotted. Now we always let the cut end dry for 2 days on a paper towel in a shaded spot before placing on soil. Our success rate went from 0% to about 70%.
— Propagated jade plant and echeveria leaves, summer, indoor windowsill
General Propagation Tips
- ✓ Always use clean, sterilized tools to prevent infection. Wipe blades with rubbing alcohol before each use.
- ✓ Propagate during the growing season (spring and summer) for best results. The University of Minnesota Extension reports significantly higher success rates during active growth periods [2].
- ✓ Provide warmth and humidity — a clear plastic bag can create a mini greenhouse. Most cuttings root best at 70–80°F (21–27°C) [1].
- ✓ Be patient. Some plants root in days; others take weeks or months. Resist the urge to tug on cuttings to "check" — this breaks fragile new roots.
- ✓ Change propagation water every 5–7 days to prevent bacterial growth. Use room-temperature water — cold water shocks tropical cuttings.
- ✓ Take more cuttings than you need. Even experienced propagators expect a 70–80% success rate. Having extras ensures you get the number of plants you want.
Frequently Asked Questions
How long does it take for cuttings to root in water?
Should I use rooting hormone when propagating?
Can I propagate a plant in soil instead of water?
Why are my cuttings rotting instead of rooting?
When is the best time of year to propagate?
References
- [1] Royal Horticultural Society (RHS). Propagating Houseplants
- [2] University of Minnesota Extension. Propagating Houseplants
- [3] Iowa State University Extension. How to Propagate Houseplants
Ready to Propagate?
Check the propagation guide on each plant's page for species-specific instructions and timing.